Easy Breezy

Easy Breezy
Being creative every day and making it look Easy Breezy!

Wednesday, March 21, 2012

The Sad Tale of a Darling Bunny Dress

As y'all know, I love to sew for my darling niece.  She is a year old now and we're coming up on her second Easter, so I wanted her to have a new spring wardrobe.


Who doesn't just love seer sucker?  I bought this pink striped seer sucker a while back, not really knowing what I wanted to make, but then inspiration hit and this is what I came up with.


I  love this minky dot bunny my friend Marianne appliqued for me.  I have got to get me an applique/monogram machine especially since my friend is moving far, far away this summer! 

I was so thrilled with how this little jumper turned out that I didn't want to wait until Easter to give it to my niece, so I decided to mail it to her.  This is where the sad part comes in...  I went to the post office and purchased one of those padded envelopes to mail the dress and matching bloomers.  As I was addressing the envelope I noticed those "if it fits it ships" boxes and I thought, maybe I should have used one of those instead, but I had already started writing on the envelope and had sealed it shut so I kept what I had.  I've mailed outfits in the same type of envelope before and all was well... but that was then.  I don't know what happened to the bunny dress after I paid the postage and handed the package over to the post office.  It's been well over a week and the package never arrived at my sisters house a mere two hours away.  My darling niece will not have a darling bunny dress to wear to the egg hunt and her Auntie Wren is heart broken. :(  I've got several more outfits made for the baby, but I will be hand delivering them from now on!

**GOOD NEWS!  Since this post, the bunny dress has been delivered! Yay!**

Join Me:

Friday, February 24, 2012

Hey Girl Can You Make Me Some Ruffle Britches?

Now that I have a new burlap wreath on my front door and Ugly Chair Number Two is finished I have had time to do a little sewing.  I haven't sewn anything since before Christmas and I've been going through withdrawals!  It was nice having my dining room looking like a dining room and not a sweat shop, but sacrifices have to be made for creativity!

Before I show y'all a few things I've been sewing on I have to ask if y'all have seen those hilarious "Hey Girl" sayings that are all over Pinterest?  Oh my word!  They crack me up!  Here are two of my favorites!
He is so talking to me!  Do Not walk in my dining room/sweat shop without shoes on or you will be sorry!

Seriously!  I thought my burlap wreath was awesome, but I guess I was the only one! Waaah!  :(

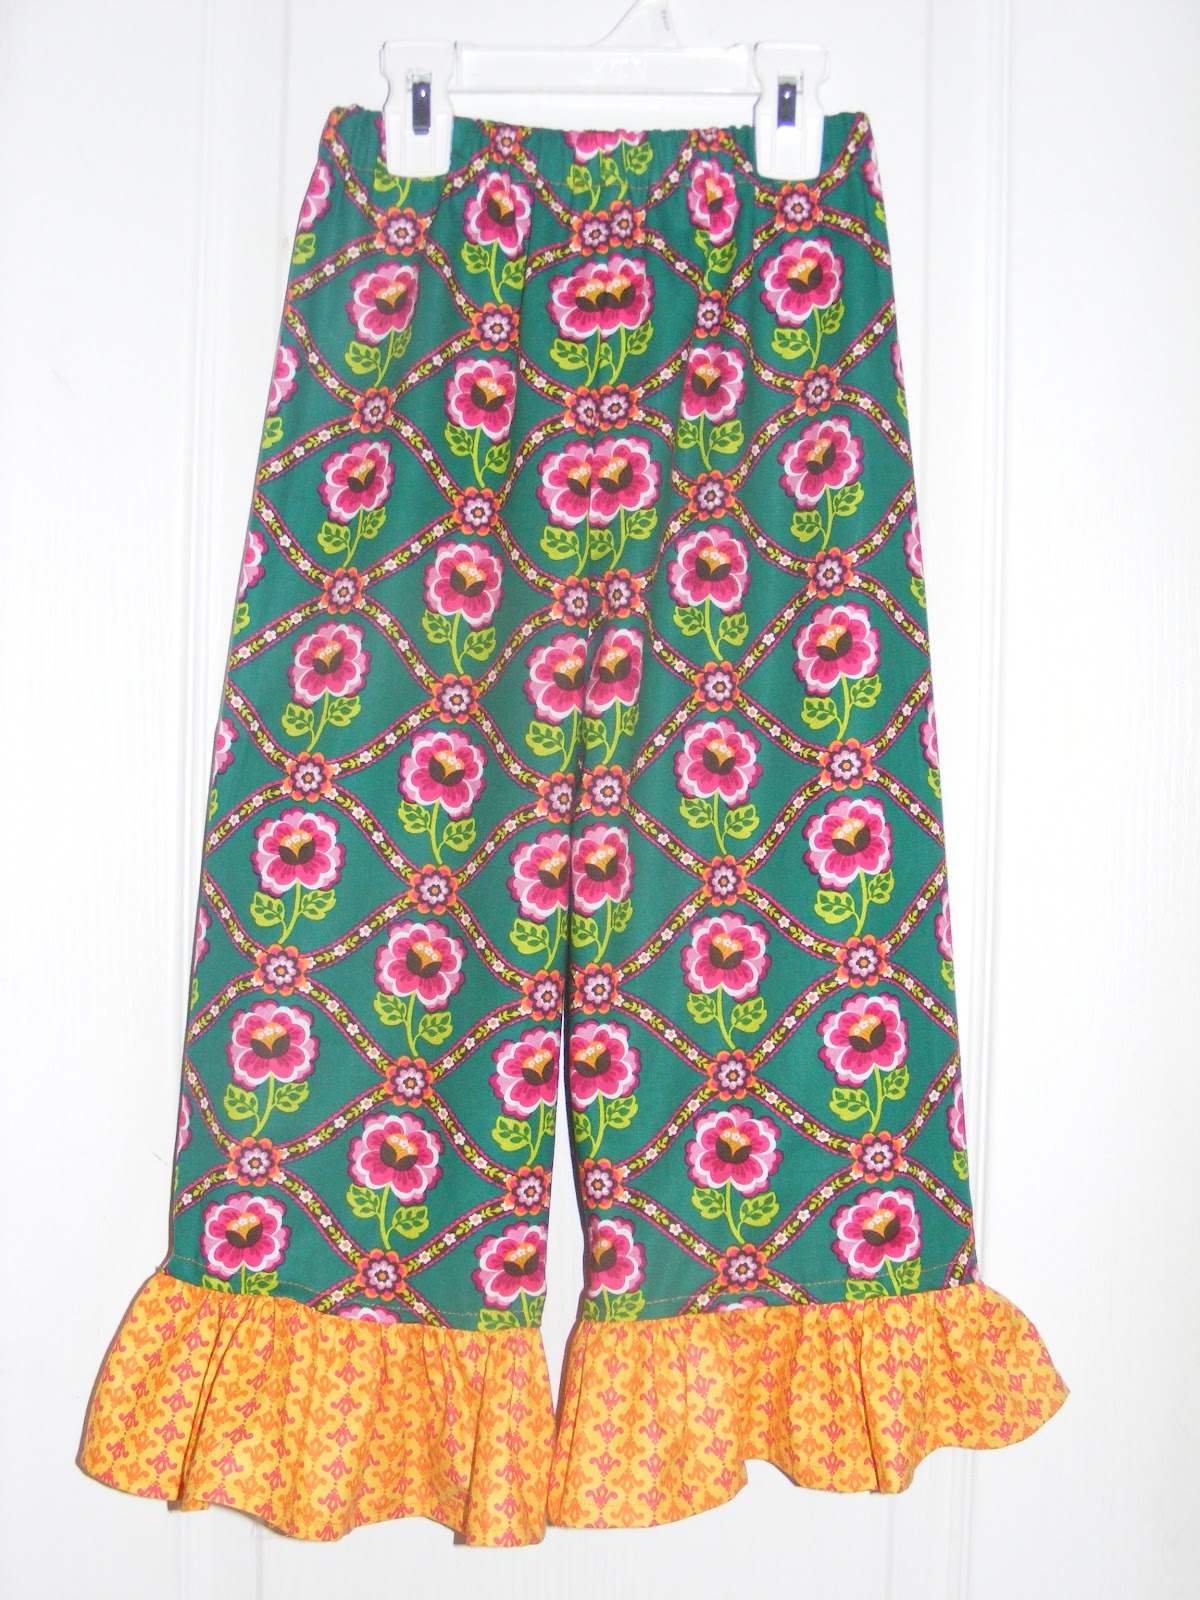
So anyway, a friend of mine has a precious little girl who wants some ruffle britches (ruffle britches are all the rage with little girls around here) and since she knows I like to sew she asked if I would make a few pair for her.  She bought the fabric and the notions and I did the sewing!


This Tinkerbell fabric was precious.  My friend told me her little girl put them on and wouldn't take them off at bedtime, so she let her sleep in them!

Another precious fabric choice.

There was enough of this fabric to make a cute pillowcase dress to go with the britches.


I haven't invested in personalized labels yet, so for now I just fold over a little bias tape and sew it into the waistband to indicate the back of the britches.

The third pair of britches was made with this sock monkey fabric.  I can't believe I forgot to take a picture, but here is what the fabric looks like.

This is the fabric that was sent for the ruffle.  I didn't like it.

On it's own it could be cute, but I didn't think the reds matched and the ruffle monkeys weren't even sock monkey's.

Turns out my friend wasn't so sure about the combination either.  She said the lady at the fabric store matched them up.  We decided I would just make the ruffle out of the sock monkey fabric and I'll save the other monkey fabric for something else.

My friend's little girl loves her new britches! 

Hey Girl - Join me here:

The Shady Porch

Tuesday, February 21, 2012

If You Give A Mama A Cup of Coffee...

If you're around young children at some point in your life you probably know the Laura Numeroff ,"If You Give A Mouse A Cookie" book, along with "If You Give A Pig A Pancake, A Moose A Muffin... etc."  If I were so inclined to write a book like that, it would be called "If You Give a Mama A Cup of Coffee".  Just like the mouse and the moose and the pig, impending doom and chaos will abound when mama's are given a cup of coffee.  I think the same can be said if you give her a telephone, a shower or a visit to the bathroom. The next sentence after "If you give a mama a cup of coffee", would be "children everywhere will come out of the woodwork!"

 Why is it that the minute you sit down at the computer with your morning coffee and attempt to check your emails, sleeping children will arise and being to crawl in your lap? Three children crawling in your lap will cause your coffee to spill all over your keyboard and desk.  Spilled coffee on your desk and keyboard will cause your keyboard to short out and the coffee to run down the walls and onto the floor.  Coffee on your keyboard and walls and floor will result in a mama jumping up and dumping children out of her lap and running to the kitchen for a dish towel.  Dumping children onto the floor will incite much crying and children shouting and blaming each other that because YOU spilled the coffee we can't play Webkinz!

After wiping up the coffee, throwing away soggy papers, scrubbing the walls and floor, drying out the keyboard and banishing the children to the kitchen with their poptarts Mama will be ready to sit down and read her emails.  While reading her emails she'll probably smell the remnants of hazelnut creamer in the carpet and if she smells the hazelnut creamer, she'll probably want a cup of coffee to go with it!

That was how my morning went and I never did get to finish my coffee. Now that the children are napping I'm tempted to put on another pot.  I'm just not sure if I should risk it though!

Friday, February 10, 2012

Ta-da! Ugly Chair No. 2 is Finished!

Just when I thought I was getting pretty good at this upholstering thing, I hit a snag with the second ugly chair.  My stapler started messing up on me and the staples were going in all wonky.  One side of the staple was in and the other was all bent up!  I was so frustrated I was about to take " Ugly Number 2" to the Goodwill and let someone else try their hand at making her pretty.  After much aggravation and staple removing, I finally got the fabric stapled on, only to realize I hadn't pulled the fabric taught in one spot on the back and there was a big pucker!  Somebody shoot me!  I had to remove half the staples from the front of the chair to get to the back so I could pull out those staples too!  I swear I never want to see another staple for the rest of my life! 

Then there was piping issues.  The cording I bought was a smidgen smaller than than what was originally on the chair and it left a gap between the cushion and the chair frame.  I went back to Hobby Lobby and the next size up was twice the size.  I bought it anyway.  I figured if that didn't work I'd just buy some black gimp (I used white on the first chair) and trim it out that way.  In the end I used both sizes of cording and I think it looks kind of cool!  And here she is!  What do you think?

I'll take some more pictures tomorrow during the daytime.  I had every light in the room on and had my son holding a shadeless lamp towards to chair just to get it this bright!
Here she is before her make over.

 And remember how Number 1 looked before the change?

Here she is today.


My two old ugly chairs aren't so ugly anymore!

Join me here:


Friday, January 27, 2012

Burlap Wreath Update

I just wasn't happy with my new burlap wreath.  The black bow just seemed blah to me, so I bought 1/4 yard of red burlap at Hobby Lobby today and tied a big bow and added it along with a glittery Valentine pick.  Maybe I'll just change out the bow and the pick with the holidays.  I still want to glitter the letter too and figure out a better way to attach it, but I'm happy with it for now. :)


Join me here:

Ugly Chair Part Deaux

I am in no way ready for the big reveal, but I did want to share a few pictures of the remaking of the second ugly chair.

Here she is, in all her tweedy, mauve glory.
I honestly don't know where we got this chair.  One day it just appeared at my house.  I think the hubs found it on the side of the road. Seriously.  I've tried on numerous occasions to throw it away, but one of my boys always fetches it from the trash and wants to keep it!  I have resigned myself to the fact that the chair is staying, but I have not resigned myself to mauve tweed.  Even in the 90s I don't think I would have liked this chair, although it would have gone perfectly with the mauve and country blue Laura Ashley loveliness I had going on at that time.

As you can see, the seat was removable, much like a dining room chair.  I just unscrewed it from underneath and it popped right off.
Then I pulled off the piping, the fabric and foam from the front of the chair.

  The back of the chair is upholstered from the front side of the chair. You can see the reverse side of the fabric from the front of the chair.

And here she is, completely disrobed and down to the frame.  The "disrobing" is really the hardest part.  Upholstery takes a lot of staples and it can be a real bear pulling those staples out.  My poor knuckles are so scratched up from prying staples out with pliers and a screwdriver and my back and arms are so sore from all the pulling and tugging, but I got it done.


I went ahead and covered the seat because I was dying to see how the new fabric looked.  I love the whimsy of the polka dots but I think the color scheme gives it a masculine feel.
Covering the seat cushion really was easy breezy.  I just centered the cushion on the fabric, folded the edges around to the backside of the seat and stapled.  When I staple I usually start at the top center and put in one staple, then I go to the bottom center and then side to side.  After I check to see if the fabric stayed centered I  go back and bring the corners in and staple them down.  When I get the corners like I like them I go back and finish the sides.  The more staples the better.  You don't want your fabric to pucker on the finished side.

I opted to cover over the original fabric because as you can see in the before picture, there is a detail seam sewn through to the cushion.  I didn't want to ruin the cushion by trying to tear the fabric off so I just covered over it.  I will add a new piece of that black backing fabric to cover the edges and give it a professional look.

I haven't attached the seat or started on the back of the chair yet because I plan on painting the frame black first.  I hope to have everything done this weekend and I will move the chair back into my son's bedroom.  I may do a little sewing with the left over fabric too.  I got this on clearance and bought the rest of the bolt, so I may have enough to make some pillow shams for the bed.  Wish me luck!

Join Me Here:


Thursday, January 26, 2012

Burlap Wreath

I have officially jumped on the burlap bandwagon and I am enjoying the ride too!  I have fallen in love with all the burlap wreaths that keep popping up on Pinterest (if you haven't discovered Pinterest you need to!  It's my new obsession!) so my good friend Jennifer and I decided we'd make our own. 

Jennifer is a new friend that I've gotten to know through work and we have so much in common.  First of all we are both named Jennifer - my first name is Jennifer and my middle is Wren (Jenny Wren when I was little, but Jennifer in school because it was my first name and apparently middle names were not allowed!).  Secondly, we both have sons named Seth, and thirdly, one of my sons and one of her sons share a birthday.  But the main reason I like Jennifer is because, like me, she looks at things and says, "I can make that!"  We have had a great time making wreaths.  We both made mesh wreaths at Christmastime and last friday we got together and each made a burlap wreath.

I made this wreath just like I did the mesh wreath.  I used the same wire wreath frame from Michael's but the burlap isn't nearly as wide as the mesh so I had to do two rows of the burlap to fill the wreath.  The burlap came from Michael's as well.  Each spool has 10 feet of burlap ribbon that is 6 inches wide.  I used almost 2 spools of ribbon.  I bought the black mesh ribbon from Hobby Lobby. This is a narrower version of the mesh and it is 6 inches wide too.  The letter came from Hobby Lobby as well, and I painted it black.  I'm thinking I might add a little sparkle to the letter with some black glitter and I think the bow needs a little something, but this is how it looks today.  I'm thinking I might get some red burlap to make another bow and maybe add some hearts for Valentine's day.  We'll see what inspiration strikes me at Hobby Lobby tomorrow!

Join Me:
view sourceprint? 01 09 10